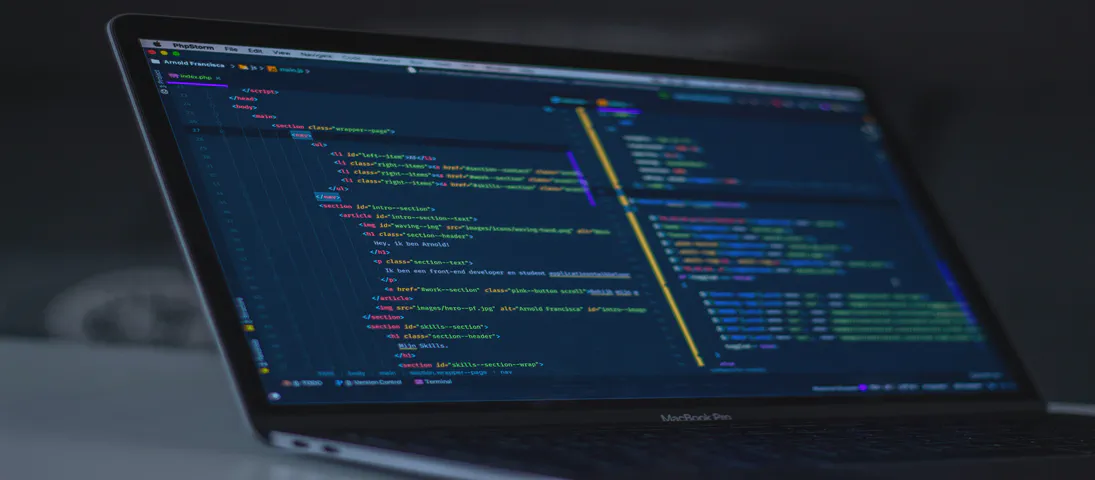
Your Personal Codespace: Self-Host VS Code on Any Server
- Steve Scargall
- Linux , System administration , Development
- June 19, 2025
GitHub Codespaces and other cloud IDEs have revolutionized development, offering a complete VS Code environment that runs on a remote server and is accessible from any browser. It’s a game-changer for productivity and flexibility.
But what if you could have that same powerful, seamless experience on your own terms?
This guide will show you how to build your very own private Codespace, replicating the convenience of the GitHub experience on any server you control—be it a machine in your home lab, a dedicated server, or a budget-friendly cloud VM. We’ll explore two distinct paths to get you up and running with a persistent, browser-based VS Code instance on Ubuntu 24.04, complete with AI assistants like Gemini and GitHub Copilot to boost your workflow.
Prerequisites
Before we begin, ensure you have the following:
An Ubuntu 24.04 Server or VM: This guide is tailored for Ubuntu 24.04, but the steps are similar for other recent Debian-based distributions.
SSH Access: You’ll need to be able to connect to your server’s terminal.
Basic Linux Command-Line Knowledge: We’ll run a few commands to set everything up.
Step 1: Connect and Update Your Ubuntu VM
First, connect to your server using SSH. Open a terminal on your local machine and use the following command, replacing username and your_server_ip with your credentials:
ssh username@your_server_ip
Once you’re logged in, it’s a good practice to update your package lists to ensure you’re getting the latest software.
sudo apt update && sudo apt upgrade -y
Step 2: Choose Your Path
Here, you have a choice between two excellent solutions. Read the descriptions below and choose the path that is right for you.
Path A: Use
code-server(Self-Hosted & Open Source)- What it is: A community-driven, open-source project that packs VS Code into a single service.
- Pros: Gives you full control. You manage the service and how it’s exposed to your network or the internet. It does not depend on third-party services for tunneling.
- Cons: Requires more setup to access securely from outside your home network (e.g., setting up a reverse proxy like Caddy).
- Choose this if: You want a completely self-hosted solution and are comfortable with network configuration or only need access on your local network.
Path B: Use
code tunnel(Official & Convenient)- What it is: The official way to run VS Code Server from Microsoft.
- Pros: Incredibly easy to set up for secure remote access from anywhere. It uses your GitHub account to create a secure tunnel to
vscode.dev, just like GitHub Codespaces. No domain or reverse proxy needed. - Cons: Relies on Microsoft’s and GitHub’s infrastructure to create the tunnel.
- Choose this if: You want the quickest, easiest path to a secure, globally-accessible VS Code instance and a user experience nearly identical to Codespaces.
Once you’ve decided, follow the steps for your chosen path below.
Path A: code-server Installation and Setup
A1. Download and Install code-server
This single command downloads and runs an installation script, which handles fetching the latest code-server release and installing it.
curl -fsSL https://code-server.dev/install.sh | sh
A2. Start the Service
Enable and start the systemd service so code-server runs automatically. The $USER variable refers to your Linux username on the server.
sudo systemctl enable --now code-server@$USER
You can check its status with sudo systemctl status code-server@$USER.
A3. Configure for Remote Access
By default, code-server only listens for connections from the server itself (127.0.0.1), which prevents remote access. We need to change this setting to allow connections from other devices on your network.
First, open the configuration file with the nano text editor:
vim ~/.config/code-server/config.yaml
Find the line that says bind-addr: 127.0.0.1:8080 and change it to bind-addr: 0.0.0.0:8080. This tells the server to listen on all available network interfaces.
Save the file and exit the editor (Ctrl+X, then Y, then Enter).
For the change to take effect, you must restart the service:
sudo systemctl restart code-server@$USER
A4. Open the Firewall
By default, Ubuntu’s firewall (ufw) will block incoming connections. To access code-server from another machine on your network, you need to create a rule to allow traffic on port 8080.
sudo ufw allow 8080
This command tells the Uncomplicated Firewall to allow all TCP and UDP traffic on port 8080.
A5. Get Your Password and Log In
Find your auto-generated password:
cat ~/.config/code-server/config.yaml
Copy the password, then navigate to http://your_server_ip:8080 in a browser to log in.
A6. Configure the UI
You will see the VS Code UI and a “Getting Started with VS Code for the Web” page. The wizard will guide you through setting up and configuring your VS Code instance.
Path B: code tunnel Installation and Setup
B1. Download and Install the VS Code Server CLI
The following commands will download the latest stable VS Code Command Line Interface (CLI), extract it, and move the code executable to a system path so it can be run from anywhere. This is the most reliable method.
# Download the VS Code CLI package for Linux x64
curl -Lk 'https://code.visualstudio.com/sha/download?build=stable&os=cli-linux-x64' | tar -xz

# Move the executable to a universal path and give it the correct permissions
sudo install code /usr/local/bin

# Clean up the leftover file
rm code
B2. Launch the Tunnel and Authenticate
Run the tunnel command. This will prompt you to link your GitHub account to create the secure connection.
code tunnel
You will see a message like this:
*
* Visual Studio Code Server
*
* By using the software, you agree to
* the Visual Studio Code Server License Terms (https://aka.ms/vscode-server-license) and
* the Microsoft Privacy Statement (https://privacy.microsoft.com/en-US/privacystatement).
*
? How would you like to log in to Visual Studio Code? ›
  Microsoft Account
❯ GitHub Account
Follow the on-screen instructions. Select “GitHub Account” or “Microsoft Account”. Once authorized, a tunnel will be created and you’ll be given a https://vscode.dev/tunnel/... URL.
B3. Run as a Persistent Service
Stop the tunnel for now (Ctrl+C).
Now, install the systemd service to have it run automatically in the background.
code tunnel service install
After the service is installed, run the following command. This is a critical step that ensures the VS Code Server will stay running even after you disconnect from your SSH session.
sudo loginctl enable-linger $USER
Your secure tunnel is now running persistently. You can find your personal vscode.dev URL anytime by running code tunnel status.
Final Step (For Both Paths): Supercharge with AI Extensions
Whichever path you chose, the final step is the same. Your browser-based VS Code experience is nearly identical to the desktop app, including the ability to install extensions.
Open the Extensions View: In the left-hand sidebar of your VS Code interface, click on the Extensions icon (it looks like four squares).
Install Google Gemini:
- In the search bar, type
Gemini. - Look for the official extension by Google.
- Click Install. After a moment, the Gemini icon will appear in the activity bar.
- In the search bar, type
Install GitHub Copilot:
- In the search bar, type
GitHub Copilot. - Find the official extension by GitHub.
- Click Install. You will need to sign in to your GitHub account to authorize it.
- Note: GitHub Copilot is a subscription-based service.
- In the search bar, type
Conclusion
Congratulations! You now have a robust, self-hosted development environment. Whether you chose the total control of code-server or the convenience of code tunnel, you have the flexibility of cloud development on your own hardware. With AI assistants like Gemini and Copilot integrated, you’re ready to build, debug, and create more efficiently than ever before.