How to Build OrcaSlicer from Source on macOS 15 Sequoia - A Step-by-Step Guide
- Steve Scargall
- Orca slicer , 3 d printing
- October 22, 2025
Building OrcaSlicer from source on macOS 15 (15.6.1 Sequoia) can be straightforward, but recent changes in macOS, Xcode, and CMake require some extra care. This guide updates the official instructions with important tips and fixes from this GitHub issue to avoid common build issues.
For this article, we will be using this build system:
- Apple MacBook Pro M1 (Apple Silicon)
- macOS 15.6.1 (Sequoia)
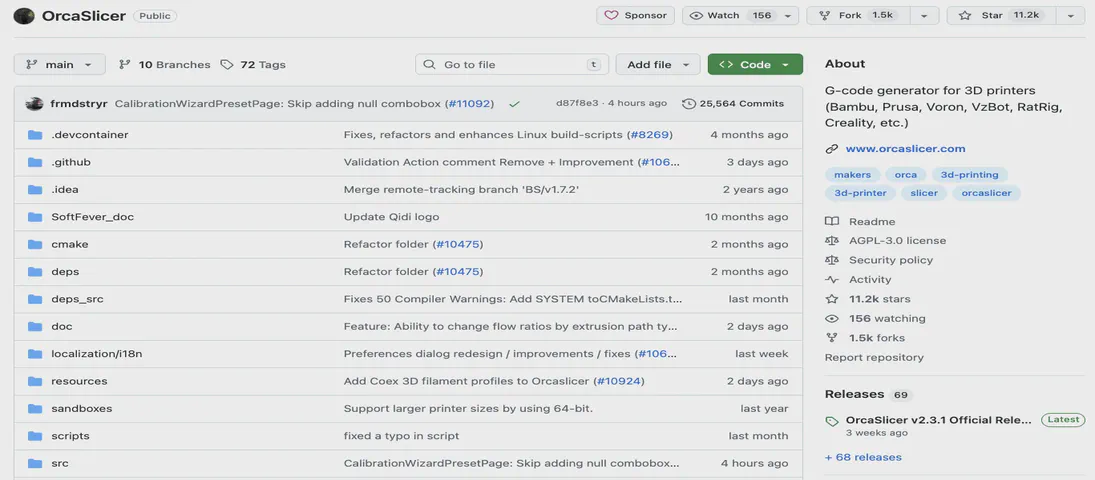
- Orca Slicer 2.3.1 from https://github.com/SoftFever/OrcaSlicer
Prerequisites
Before you start, ensure you have the following installed:
- Xcode (latest version, open it once after install to set up build tools)
- CMake 3.31.x (not newer 4.x; the latest 3.31.x release is recommended)
- Git
Install Dependencies
Run the following command to install the necessary dependency packages.
brew install git gettext libtool automake autoconf texinfo
Install or Upgrade XCode
Download and install Apple XCode from https://developer.apple.com/xcode/
Whether you installed XCode for the first time or you upgraded it, it is very imporatant that you start the XCode UI and follow the prompts to complete the installation process. This will install the necessary C and C++ compilers.
Make sure your system uses full Xcode (not only Command Line Tools) by running:
sudo xcode-select -s /Applications/Xcode.app/Contents/Developer
Confirm the compiler tools are available
clang --version
clang++ --version
gcc --version
g++ --version
Confirm the installation paths:
which g++ gcc clang
You should see the following:
$ which g++ gcc clang
/usr/bin/g++
/usr/bin/gcc
/usr/bin/clang
Install CMake 3.31.x
OrcaSlicer only works with CMake 3.x.y. If you installed a newer CMake (e.g., Homebrew’s version 4.x), you can leave it installed.
Download CMake 3.31.x from https://cmake.org/download/
, double-click the .dmg file to open it, move it to /Applications, and update your shell profile (~/.zshrc or ~/.bash_profile) with:
export PATH="/Applications/CMake.app/Contents/bin:$PATH"
Restart the terminal or source the new environment variables, and check the version:
source ~/.zshrc
cmake --version  # should report version 3.31.x
Build OrcaSlicer
Clone the OrcaSlicer GitHub repository. If you plan to make code changes, fork the OrcaSlicer GitHub project, then clone your copy.
git clone https://github.com/SoftFever/OrcaSlicer
cd OrcaSlicer
Using the suggested workaround from this GitHub issue
, open build_release_macos.sh in your favourite editor, find the build_slider function, and the cmake command within it. Add these cmake command arguments to the -G "${SLICER_CMAKE_GENERATOR}" \ group:
-DCMAKE_CXX_COMPILER=/usr/bin/g++ \
-DCMAKE_C_COMPILER=/usr/bin/gcc
Here is the code snippet showing the new entries on lines 186-187, from Orca Slicer v2.3.1. Add \ to the end of line 185.
157 function build_slicer() {
158     # iterate over two architectures: x86_64 and arm64
159     for _ARCH in x86_64 arm64; do
160         # if ARCH is universal or equal to _ARCH
161         if [ "$ARCH" == "universal" ] || [ "$ARCH" == "$_ARCH" ]; then
162
163             PROJECT_BUILD_DIR="$PROJECT_DIR/build/$_ARCH"
164             DEPS_BUILD_DIR="$DEPS_DIR/build/$_ARCH"
165             DEPS="$DEPS_BUILD_DIR/OrcaSlicer_dep"
166
167             echo "Building slicer for $_ARCH..."
168             (
169                 set -x
170             mkdir -p "$PROJECT_BUILD_DIR"
171             cd "$PROJECT_BUILD_DIR"
172             if [ "1." != "$BUILD_ONLY". ]; then
173                 cmake "${PROJECT_DIR}" \
174                     -G "${SLICER_CMAKE_GENERATOR}" \
175                     -DBBL_RELEASE_TO_PUBLIC=1 \
176                     -DORCA_TOOLS=ON \
177                     ${ORCA_UPDATER_SIG_KEY:+-DORCA_UPDATER_SIG_KEY="$ORCA_UPDATER_SIG_KEY"} \
178                     -DCMAKE_PREFIX_PATH="$DEPS/usr/local" \
179                     -DCMAKE_INSTALL_PREFIX="$PWD/OrcaSlicer" \
180                     -DCMAKE_BUILD_TYPE="$BUILD_CONFIG" \
181                     -DCMAKE_MACOSX_RPATH=ON \
182                     -DCMAKE_INSTALL_RPATH="${DEPS}/usr/local" \
183                     -DCMAKE_MACOSX_BUNDLE=ON \
184                     -DCMAKE_OSX_ARCHITECTURES="${_ARCH}" \
185                     -DCMAKE_OSX_DEPLOYMENT_TARGET="${OSX_DEPLOYMENT_TARGET}" \
186                     -DCMAKE_CXX_COMPILER=/usr/bin/g++ \
187                     -DCMAKE_C_COMPILER=/usr/bin/gcc
188             fi
189             cmake --build . --config "$BUILD_CONFIG" --target "$SLICER_BUILD_TARGET"
190         )
...
Build the application:
./build_release_macos.sh
If everything goes well, you should see ** BUILD SUCCEEDED **. If you encounter errors, check the Common CMake Compiler Detection Issue
section for more guidance.
Opening OrcaSlicer
When the build completes, run:
open build/arm64/OrcaSlicer/OrcaSlicer.app
Follow the OrcaSlicer setup wizard instructions.
Congratulations, you now have a custom OrcaSlicer. Happy 3D Printing!!
Summary
- Use Xcode 15+, open it once post-install
- Install CMake 3.31.x manually (not Homebrew’s newer 4.x)
- Select full Xcode for build tools with
xcode-select - Export compiler variables if needed
- If Xcode generator fails, use Unix Makefiles
Common CMake Compiler Detection Issue
On macOS 15, running the build script with Xcode generator (-G Xcode) often fails with:
-- The CXX compiler identification is unknown
CMake Error at CMakeLists.txt:56 (project):
  No CMAKE_C_COMPILER could be found.

CMake Error at CMakeLists.txt:56 (project):
  No CMAKE_CXX_COMPILER could be found.
This happens because CMake sometimes can’t detect the AppleClang compilers properly when invoked from shell scripts, especially if Xcode and Command Line Tools are not properly selected.
Fix 1: Set Xcode Developer Directory Explicitly
Make sure your system uses full Xcode (not only Command Line Tools):
sudo xcode-select -s /Applications/Xcode.app/Contents/Developer
Then try cleaning and rebuilding:
rm -rf build
./build_release_macos.sh
Fix 2: Export Compiler Paths Manually
If detection still fails, set the compiler environment variables explicitly:
export CC=/usr/bin/clang
export CXX=/usr/bin/clang++
Then remove the build directory and retry:
rm -rf build
./build_release_macos.sh
Fix 3: Fallback to Makefile Build
If the above doesn’t work, bypass Xcode by using Unix Makefiles instead:
mkdir build && cd build
cmake .. -G "Unix Makefiles" -DCMAKE_C_COMPILER=/usr/bin/clang -DCMAKE_CXX_COMPILER=/usr/bin/clang++
make -j$(sysctl -n hw.ncpu)
This will build OrcaSlicer without the Xcode project, and often avoids the compiler detection problem.